How to Organize a Laundry Room: 5 Smart Layouts & Easy Hacks
💡 Affiliate Disclosure: PetchCrea is reader-supported. When you buy through links on our site, we may earn an affiliate commission at no additional cost to you. As an Amazon Associate, I earn from qualifying purchases. We only recommend products that genuinely help you optimize and organize your space.
If laundry day feels like an endless cycle of moving piles from one surface to another, you are definitely not alone. The average household washes roughly 300 loads of laundry every year, spending about 4.5 hours each week washing, drying, and folding. When your space lacks a clear system, clean clothes inevitably end up piled high on dining tables, living room chairs, or bedroom furniture.
The good news? You do not need a costly renovation or luxury custom cabinets to solve the chaos. The secret to an effortless laundry day is establishing a simple, linear 5-Zone Workflow (Sort → Prep/Wash → Dry/Hang → Fold → Store) that aligns with your natural weekly routine. By clearing non-laundry clutter first, capitalizing on vertical wall space, respecting appliance depth clearances, and securing a dedicated folding surface, you can eliminate daily friction for good.
In the U.S., the most common laundry room size is around 35 square feet small enough that layout, not square footage, is usually what makes or breaks a space (Fixr). Whether you are working with a spacious utility room or a narrow closet alcove, this step-by-step guide will help you maximize every square inch.
Step 1: Clear Non-Laundry Clutter First (The Purge)
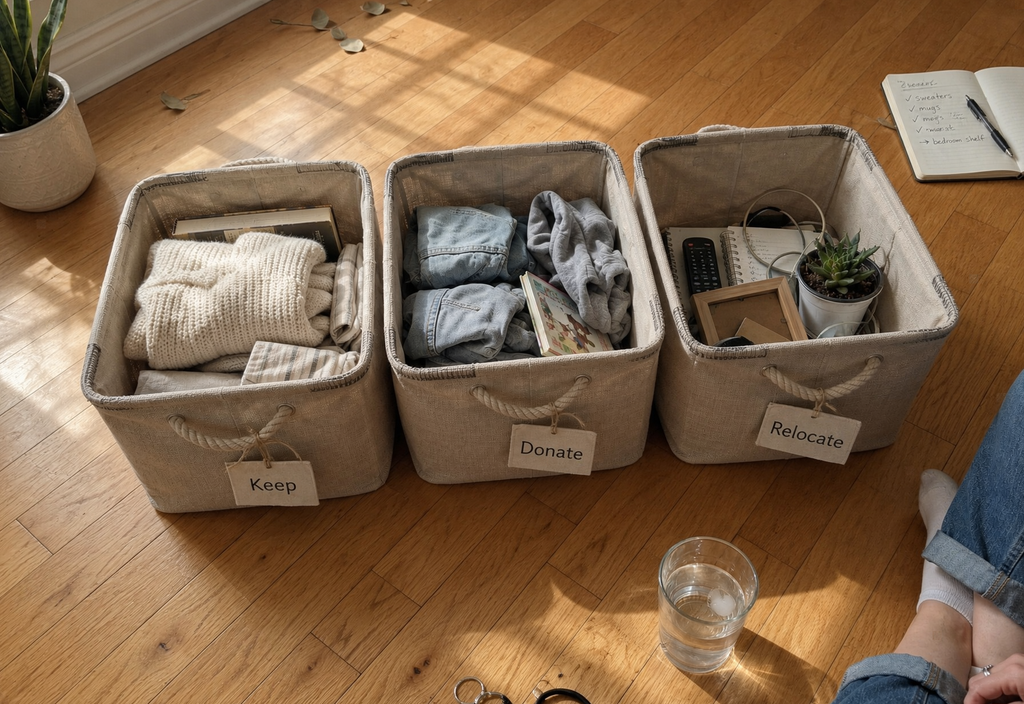
Before you buy a single storage basket or floating shelf, look around your room with a fresh set of eyes. Because laundry spaces are often tucked away, they easily become household dumping grounds for coolers, extra toolboxes, old paint cans, and random storage boxes.
To build a system that works, you must first remove everything that does not directly support sorting, washing, drying, folding, or cleaning tool storage.
- Relocate Non-Essentials: Move seasonal gear, holiday decorations, and hardware tools out of the laundry area to dedicated storage zones elsewhere in your home.
- Discard Expired Products: Safely dispose of old stain treatments, empty soap jugs, and dried-out cleaning wipes.
- Keep Only Active Supplies: Keep only the detergents, stain removers, hampers, and drying tools that you actually use during your weekly laundry routine.
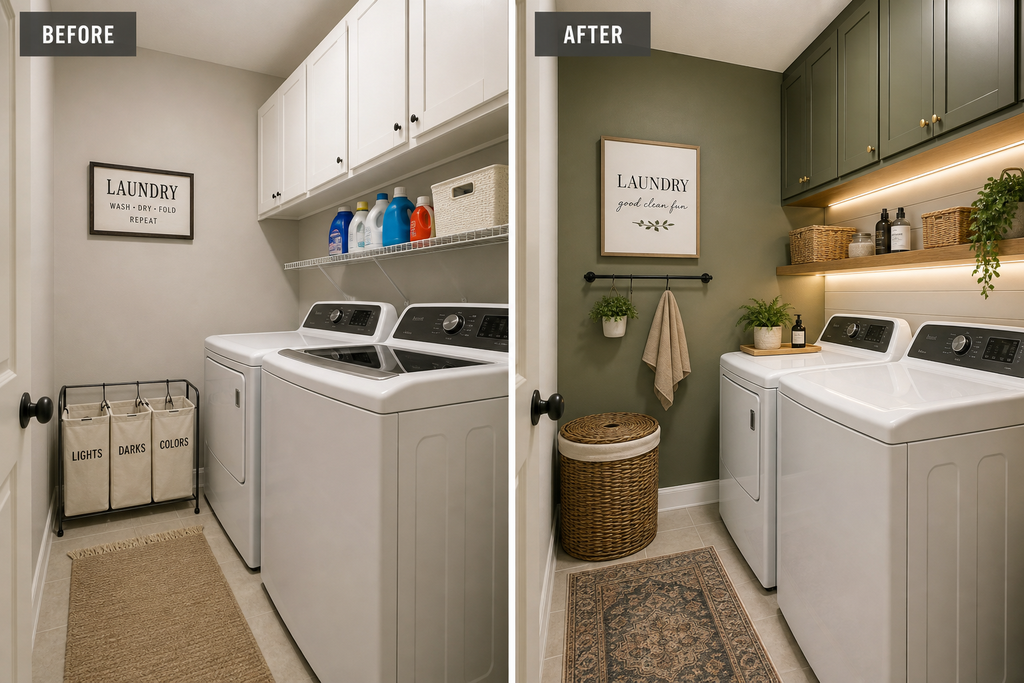
CHECK THE FOUR STEPS How to Declutter Your Home
Step 2: Establish the 5-Zone Laundry Workflow
A functional laundry room operates much like a smooth production line. Arranging your room into five sequential work zones ensures garments move logically from dirty to clean without crossing paths or creating floor clutter.
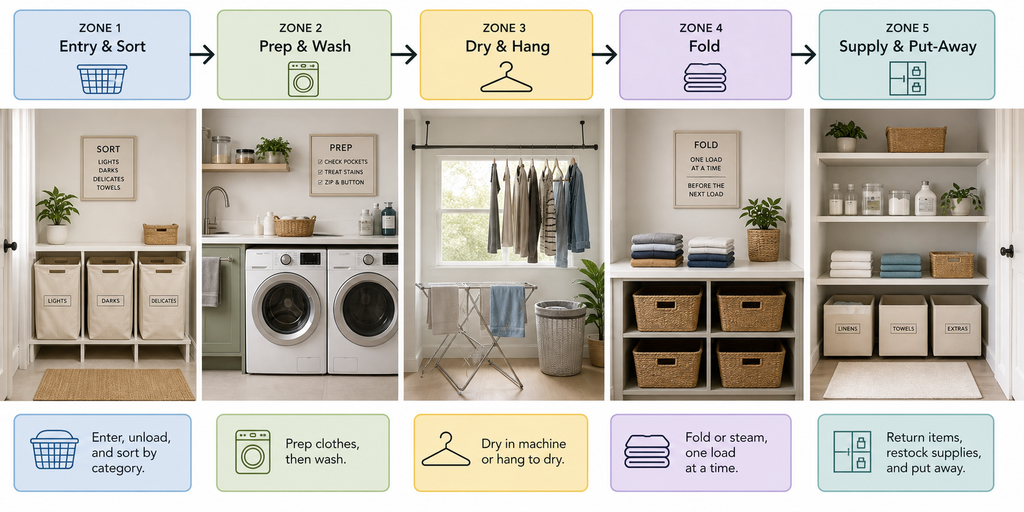
Zone 1: Entry & Pre-Sorting (Stop Floor Piles)
Position dirty clothes hampers right at the entrance of the room so dirty items land in a designated spot rather than on the floor or washer lid. Utilizing multi-compartment tilt-out or pull-out hampers allows you to sort darks, lights, delicates, and towels as soon as clothes arrive. Color-coded or labeled canvas inserts make it easy for every family member to participate in sorting upon entry.

- STURDY FRAME: Durable silver finish steel with an EXTRA horizontal behind bar (which counts six horizontal bars in total…
- DURABLE BAGS: Each heavy duty Grey bag holds 11 Gallons of clothes, easy to clean
- HEAVY DUTY CASTERS: Two of the casters come with brakes, takes on heavy loadstand rolls smoothly
Zone 2: Prep & Wash Station (Stain Treatment Hub)
Located directly beside the washing machine, this zone manages localized stain treatments, color sorting, and detergent dosing.
- Counter Space & Sink: Aim for 18 to 42 inches of free counter space beside machines to stage pending loads and hold measuring cups. Pairing this with a deep utility sink (24 to 30 inches wide) gives you a dedicated spot for soaking heavily soiled garments and hand-washing delicates.
- Product Accessibility: Store daily high-efficiency detergents, stain sticks, and measuring tools directly at eye level or within arm’s reach of the washer door.
- 💡 Pro Task Lighting Tip: Stick a strip of under-cabinet LED task lighting directly above your stain prep counter. Having bright, focused light makes it significantly easier to spot faint stains and read delicate care labels before running a cycle.
Zone 3: Drying & Hanging Station (Air-Drying Without Clutter)
Air-drying delicates, knits, and synthetic activewear requires proper dedicated hanging space to allow air movement around garments.
- Hanging Rods: Installing a clothes rod at an architectural height of 76 inches above the floor keeps hanging garments clear of counters and floor space.
- Space-Saving Racks: For compact spaces, wall-mounted fold-down racks, accordion dryers, or ceiling-suspended pulley airers provide instant drying capacity and fold flat when idle.
- ⚠️ Moisture & Humidity Control: Clothes dryers account for roughly 6% of residential electricity use in the U.S and release significant indoor moisture. Always ensure your dryer vents to the exterior. Maintaining indoor relative humidity between 30% and 50% (and strictly below 60%) prevents mold growth and damp odors.
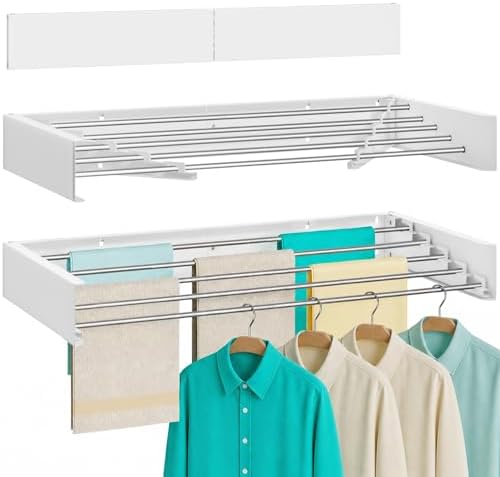
- Space-Saving Foldable Design: This wall-mounted drying rack folds flat against the wall when not in use—compact, hidden,…
- Stud-Mounted for Maximum Stability: Engineered for secure stud installation, the pre-drilled holes align with wall studs…
- Easy Installation, Ready to Use: Comes fully pre-assembled with all mounting hardware and a wall template. Simply instal…
Zone 4: The Dedicated Folding Station (The Game Changer)
Having a wide, flat work surface inside the laundry room is the single most effective way to prevent clean clothes from colonizing bedroom furniture or dining tables.
For standing comfort during repeated folding, occupational ergonomics guidelines recommend setting your counter surface 2 to 4 inches below your standing elbow height to keep your shoulders and upper back relaxed.
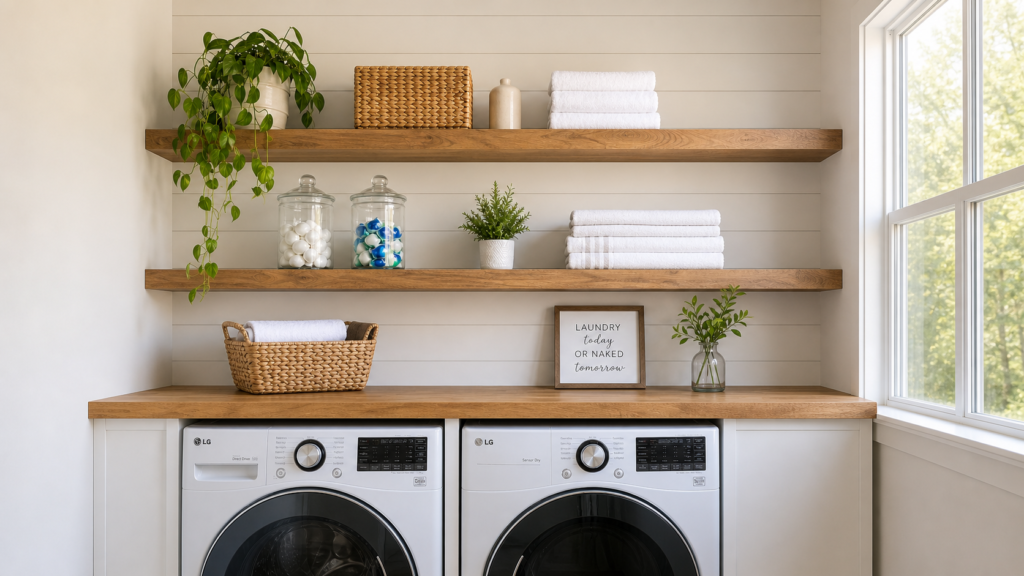
- For Front-Loading Machines: Running a continuous countertop (such as a sealed butcher block or sturdy wood panel) directly over side-by-side front loaders turns unused overhead space into an instant, expansive folding station.
- For Top-Loading Machines: Because top-loader lids swing open upward, placing a continuous counter directly over the machines is impossible. Instead, install a heavy-duty wall-mounted drop-leaf table on an adjacent wall that lifts up when you need to fold and collapses flush when you’re finished. You can also place a mobile rolling counter cart alongside top-loaders to create a dedicated folding surface.

- Space-Saving, Easy Folding: Our wall-mounted folding desk revolutionizes space utilization with its quick folding mechan…
- Premium Materials, Sturdy and Stylish: Built with thickened particleboard, this wall desk boasts an easy-to-clean surfac…
- Versatile for Multiple Scenes: Suitable for home offices, studying, crafting, cooking, or even balcony storage, this flo…
Zone 5: Supply & Put-Away Storage (Visual Calm)
Keep daily supplies organized while securing hazardous products away from children and pets.
- Closed Cabinetry: Use closed upper cabinets for heavy detergent bottles, bleach, and cleaning chemicals to maintain visual calm and keep supplies out of reach of little hands.
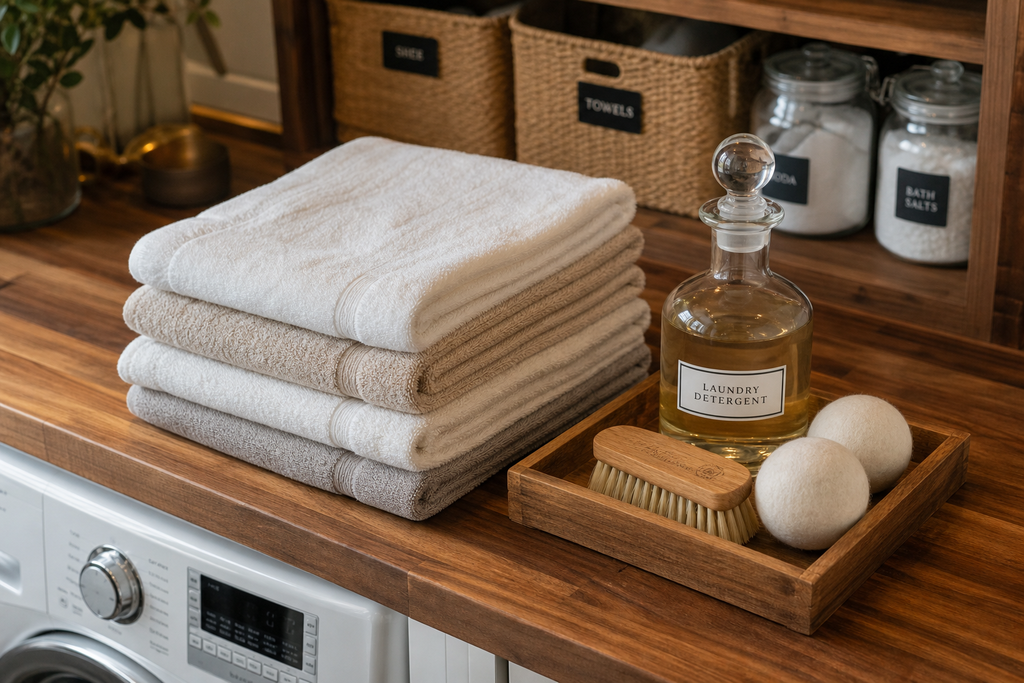
- Aesthetic Cohesion: On open shelves, decant laundry pods or powders into clear glass jars and group loose accessories in natural woven wicker or jute baskets.
- Tall Utility Storage: Use a tall 16-to-24-inch utility cabinet or wall-mounted tool track for brooms, mops, dustpans, stick vacuums, and ironing boards.
- The 6-Inch Gap Hack: Reclaim the narrow 5- to 8-inch unused gap between your washer and dryer (or wall) by sliding in a slim rolling cart to store detergent pods, stain sprays, and lint rollers.


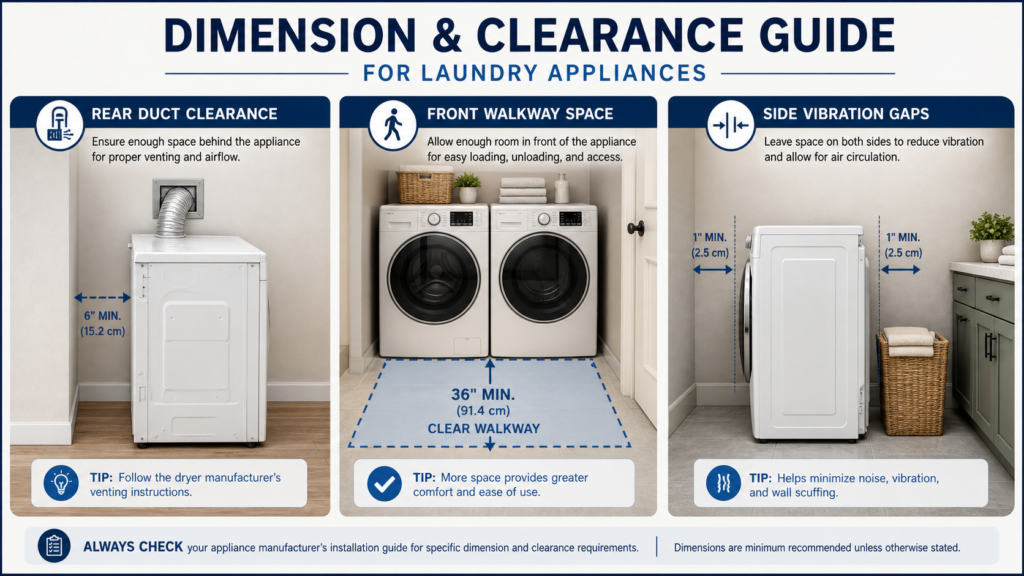
Essential Appliance Clearances & Measurement Checklist
Measuring only the nominal width and depth of washers and dryers is the single most common mistake in laundry design. Standard appliances measure approximately 27 inches wide and 28 to 34 inches deep. However, real-world installation depth requires an additional 6 inches behind the units to accommodate water inlet hoses, drain standpipes, low-profile dryer ducting, and electrical conduits.
This means an appliance with a nominal depth of 32 inches actually requires 38 to 40 inches of clear, unobstructed room depth.
| Parameter / Clearance Type | Recommended Measurement | Functional Purpose |
|---|---|---|
| Rear Clearance (Behind Machines) | 6 inches | Accommodates dryer venting ducts, water inlet hoses, and drain standpipes. |
| Front Walkway Clearance | 36 to 48 inches | Ensures comfortable loading/unloading and room for full laundry baskets. |
| Side Isolation Gap | 1 to 2 inches | Isolates machine vibration and allows proper air circulation. |
| Side-by-Side Pair Width | 56 to 60 inches | Standard footprint allocation for placing two appliances side by side. |
| Stacked Pair Height | 79 to 83 inches | Required vertical clearance for stacking washer and dryer units. |
| Hanging Rod Height | 76 inches | Keeps hanging garments clear of counters and floor surfaces. |
| Corridor Walkway Width | 36 to 44 inches | Allows clear passage for carrying full laundry baskets or multi-person traffic. |
| U-Layout Center Clearance | At least 48 inches | Prevents opposing cabinet and appliance doors from colliding when open. |
Layout Selection: Stacked Closet vs. Side-by-Side Configuration
Choosing the right appliance layout depends on your total square footage and your appliance type.
| Feature | Stacked Closet Layout | Side-by-Side Layout |
|---|---|---|
| Minimum Footprint Needed | 15 to 24 sq ft | 35 to 54 sq ft |
| Primary Advantage | Exploits vertical height; frees up floor area for tall utility cabinets or hampers. | Allows for a continuous folding countertop across front-loading units. |
| Best For | Laundry closets, apartments, and narrow alcoves. | Dedicated utility rooms, galley pass-throughs, or mudrooms. |
| Folding Solution | Wall-mounted drop-leaf table or adjacent folding cart. | Built-in over-machine countertop or adjacent table. |
Small-Space Laundry Storage Hacks (Use Every Inch)
When working with a compact room or closet, thinking vertically and utilizing hidden gaps makes a huge difference.
- Vertical Modular Track Systems: Install wall-mounted track systems (like Elfa or IKEA BOAXEL) that anchor to a single top track mounted into wall studs. Adjustable wire shelving, drop-down drying racks, and mesh drawers can be reconfigured as your storage needs change.
- DIY Over-Washer Countertop (Front-Loaders): Build a floating wood countertop over front-loading machines using a sealed butcher block or maple plywood resting on sturdy wall-mounted ledger cleats. This protects appliance tops while providing a clean, flat surface for folding.
- Renter-Friendly Upgrades: If you cannot drill into walls, use heavy-duty over-the-door pocket organizers for cleaning sprays, tension hanging rods in door frames, and freestanding wire mesh drawer frames (like IKEA JONAXEL) that slide alongside machines.
Check How to Build DIY Floating Shelves for Small Spaces (Step-by-Step)
Simple Systems to Prevent Clutter from Returning
An organized laundry room should be easy to reset, even after a busy week.
- The Permanent Donation Basket: Keep a stylish, designated basket on your laundry counter. As family members discover outgrown or unworn clothing during folding, drop them directly into the basket to keep bedroom closets clutter-free.
- Pre-Folding Into Individual Bins: As clean clothes come out of the dryer, fold them directly into individual assigned hampers per family member so putting away clothes takes less than two minutes.
- The 5-Minute Weekly Reset Routine: Once a week, take five minutes to return daily soaps to eye-level cupboards, wipe down counter surfaces, empty dryer lint screens, and clear all folded stacks from the main counter.
Frequently Asked Questions (FAQ)
1. How do I organize a tiny laundry room closet?
Stack your washer and dryer vertically to free up floor width. Use full-height vertical track shelving and over-the-door organizers to store detergents, stain sprays, and ironing accessories without taking up walkway space.
2. What is the best height for a laundry folding counter?
Standard base cabinets sit at 36 inches high. However, for optimal ergonomic comfort during repeated folding, set the counter surface 2 to 4 inches below your standing elbow height to keep your shoulders relaxed.
3. How much real depth do I need behind my washer and dryer?
Always allow at least 6 inches behind appliances. A washer with a nominal depth of 32 inches requires 38 to 40 inches of actual room depth for water hoses, drain standpipes, and dryer ducting.
4. How can I organize a folding area if I have a top-loading washing machine?
Because top-loader lids open upward, you cannot install a fixed countertop directly over the machine. Instead, install a wall-mounted drop-leaf folding table on an adjacent wall that lifts up for folding and drops flat when idle. Alternatively, use a slim rolling counter cart positioned beside your washing machine.
5. How can I prevent damp smells and mold in a closed laundry room?
Ensure your clothes dryer vents externally and maintain room relative humidity between 30% and 50% (strictly under 60%). Use louvered cabinet doors or open wire mesh baskets for dirty hampers to promote continuous airflow.
6. Should I buy storage baskets before or after decluttering?
Always declutter first. Purge non-laundry items, expired products, and extra household clutter so you know the exact volume of supplies you need to store before purchasing containers.
Conclusion & Final Takeaway
Transforming your laundry room is not about spending thousands on luxury remodels—it is about creating an operational sequence that supports your household’s real rhythm. By establishing a clear 5-Zone Workflow, respecting machine clearances, utilizing vertical wall space, and dedicating a surface for folding, you can turn a dreaded chore into a fast, stress-free routine.
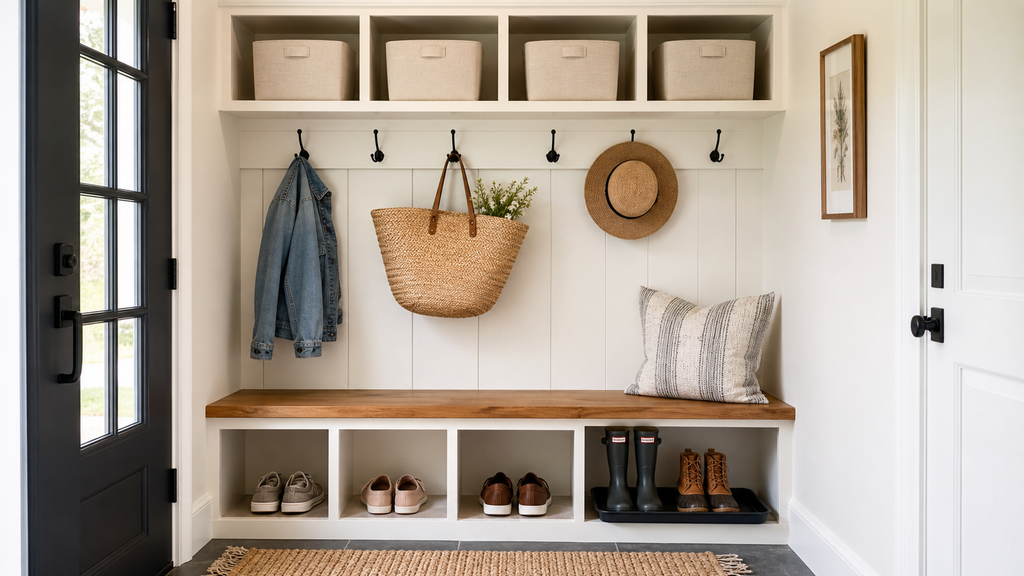
EXPLORE THE Smart Mudroom & Drop Zone Ideas for Small Spaces (Step-by-Step)