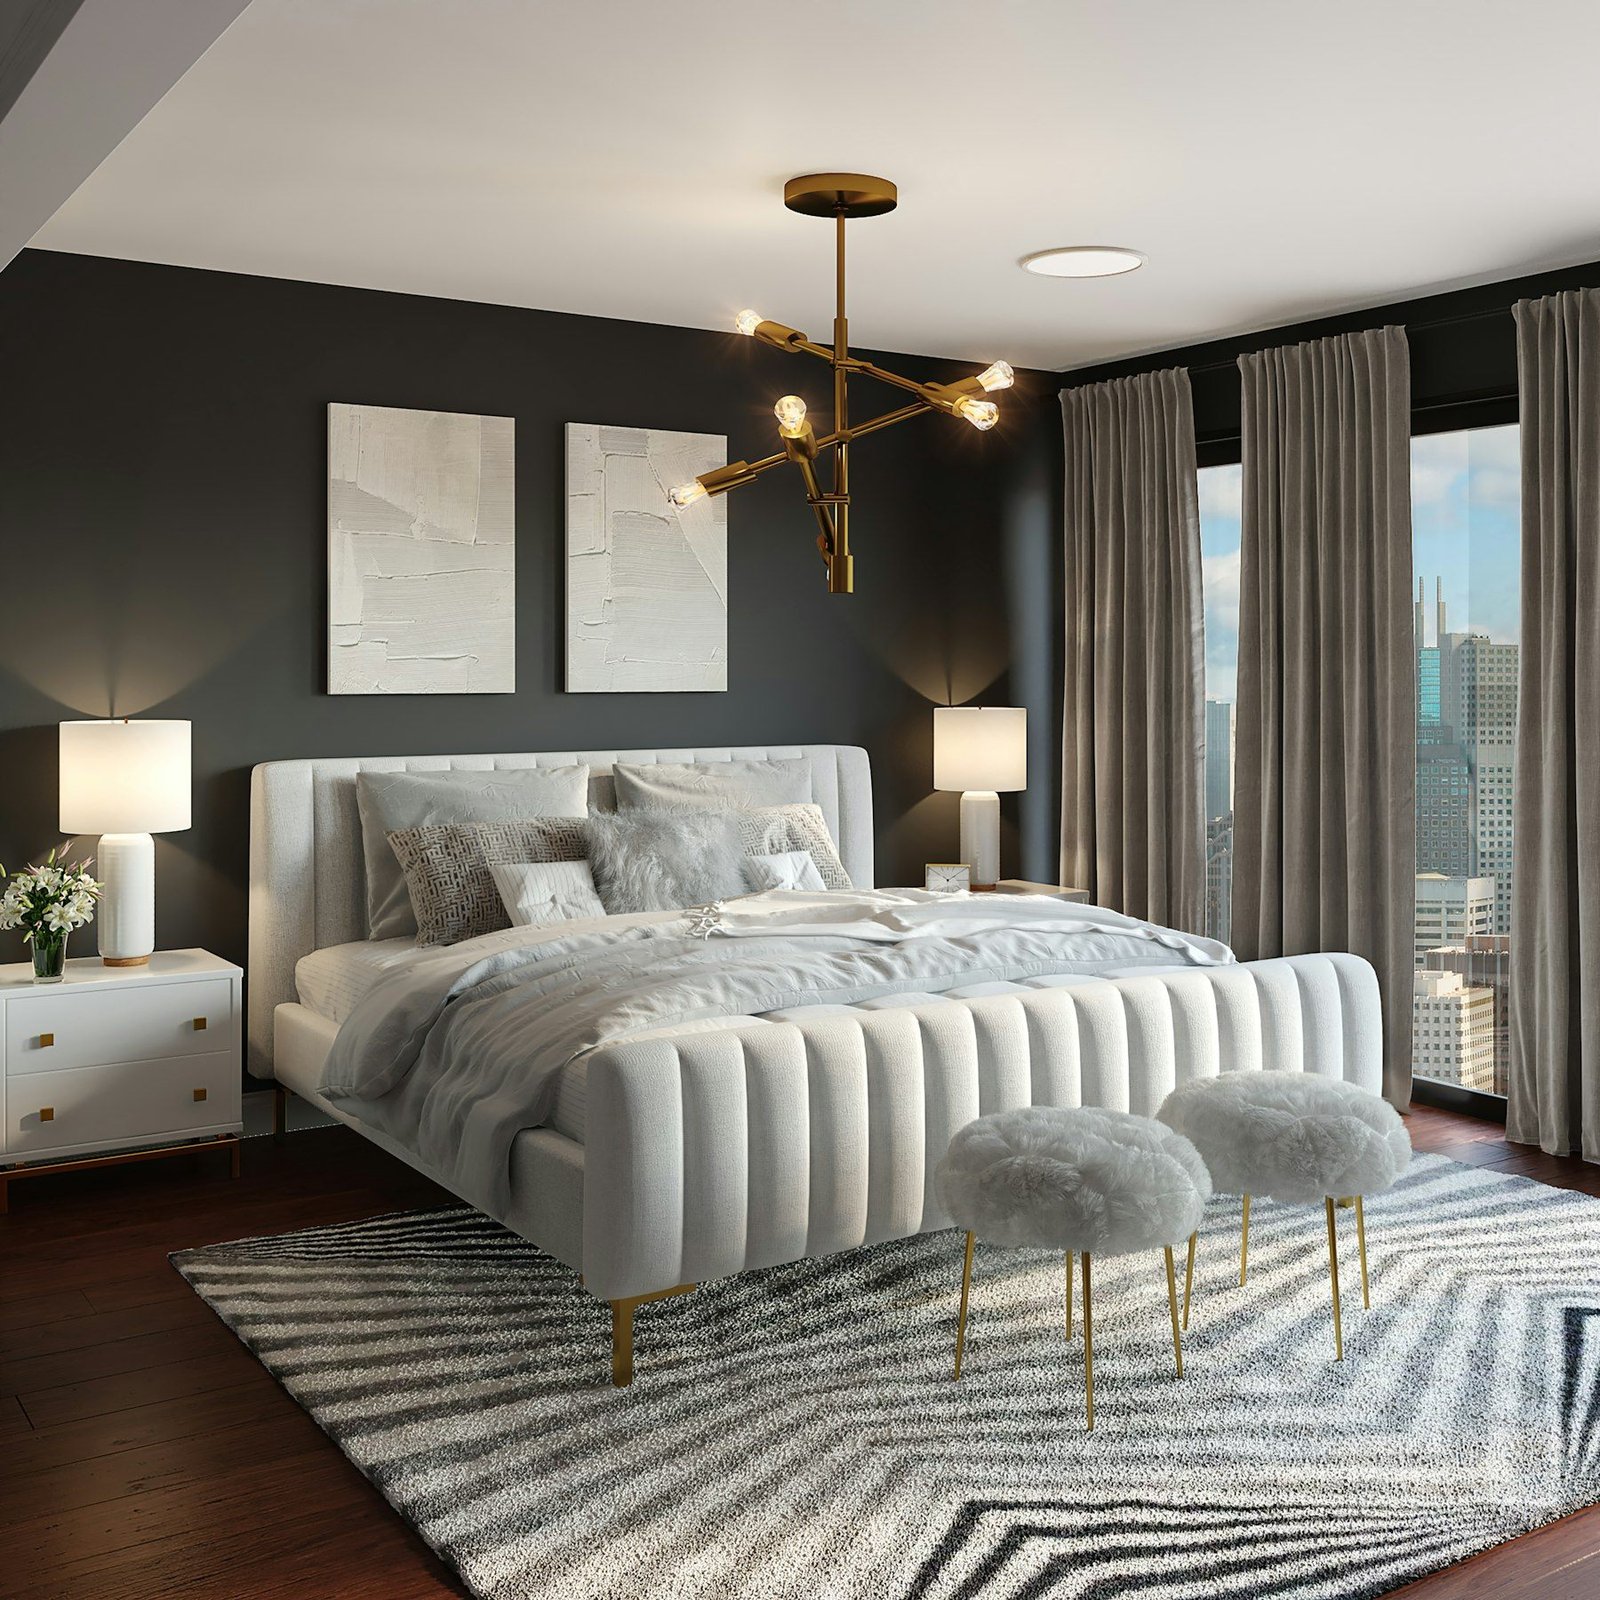
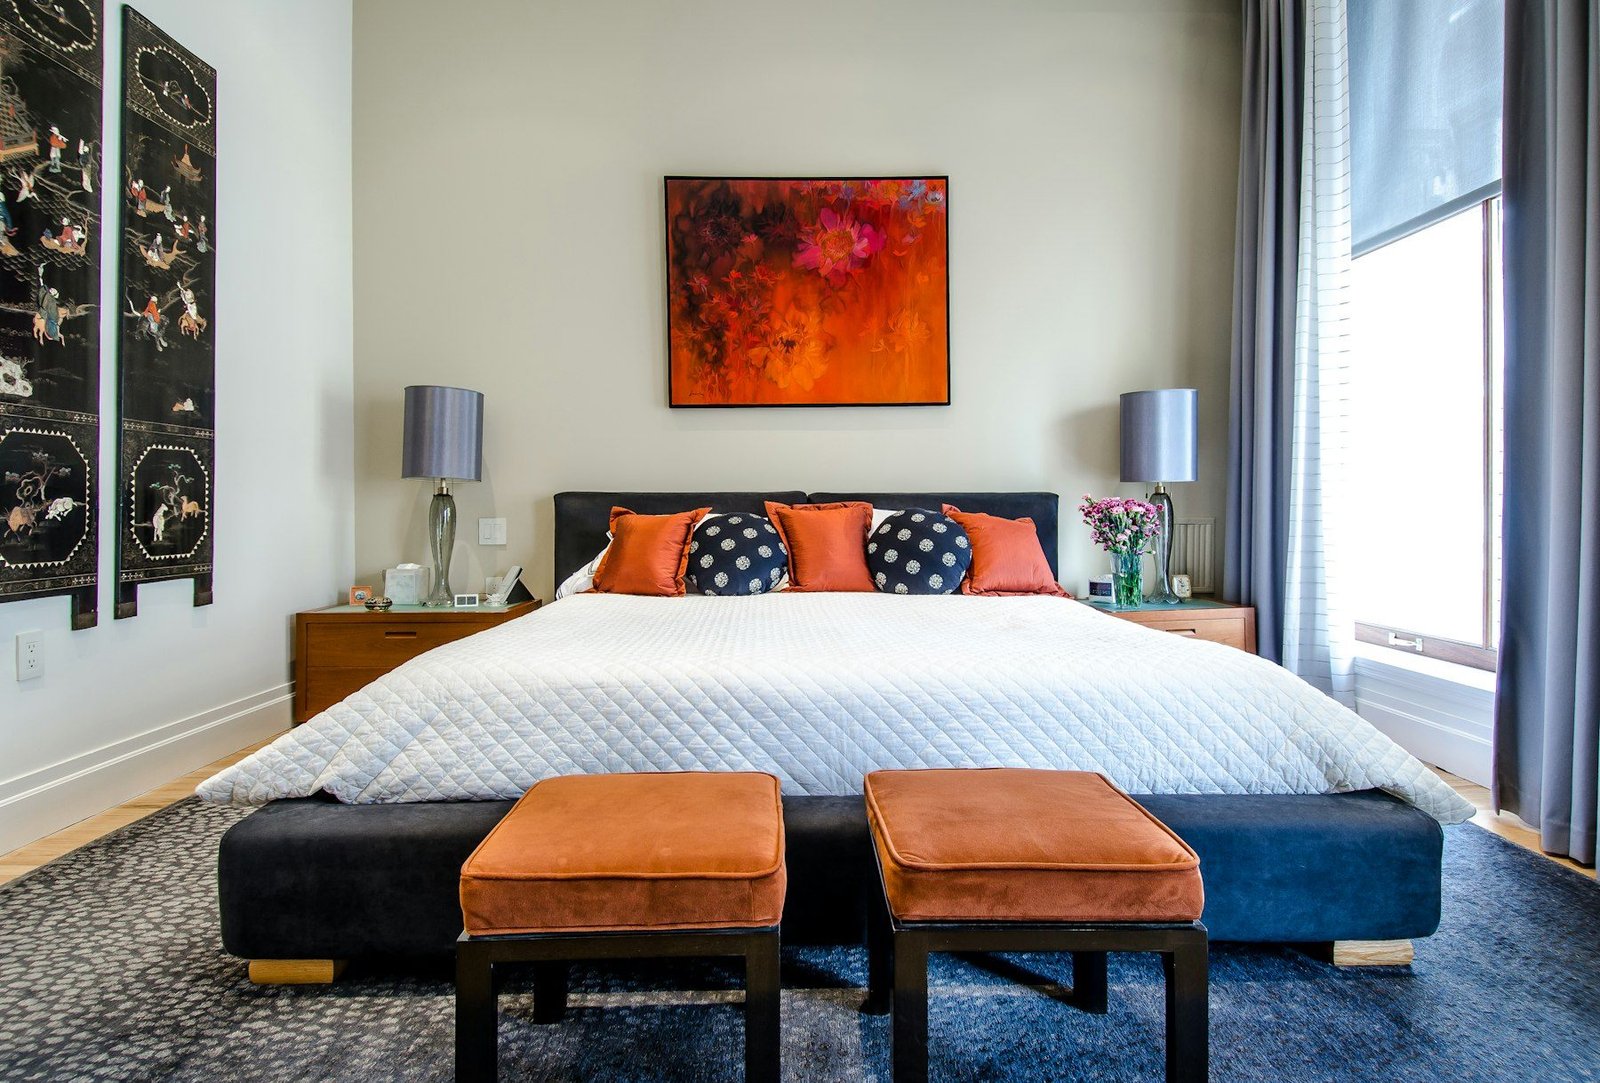
When we agreed to help a friend style her rental bedroom, the starting point was painfully familiar: a bare bed, a beige wall, and a ceiling light that buzzed like a fridge. The room had a good bed, decent windows, and zero personality. Six weeks later it looks like a boutique hotel — and the total cost was under $400, with not a single hole drilled in the landlord’s walls.
Here’s exactly how we did it, in the order that matters. The order is the important part: we fixed light before bedding, and bedding before decor. Getting the sequence right is why this works on any budget.
Why hotel rooms feel so good (steal this)
Before the steps, let’s talk about why we love hotel bedrooms at all. It’s not the furniture — it’s the feeling of calm and order. Hotels achieve it with three tricks: warm, layered lighting (never the ceiling light), bedding that’s layered and inviting, and an edited, uncluttered palette. None of these require expensive furniture or a renovation. They require intention.
Once you understand that, the whole transformation is just a matter of applying those three tricks to your rental — which is exactly what we did.
1. We fixed the light first
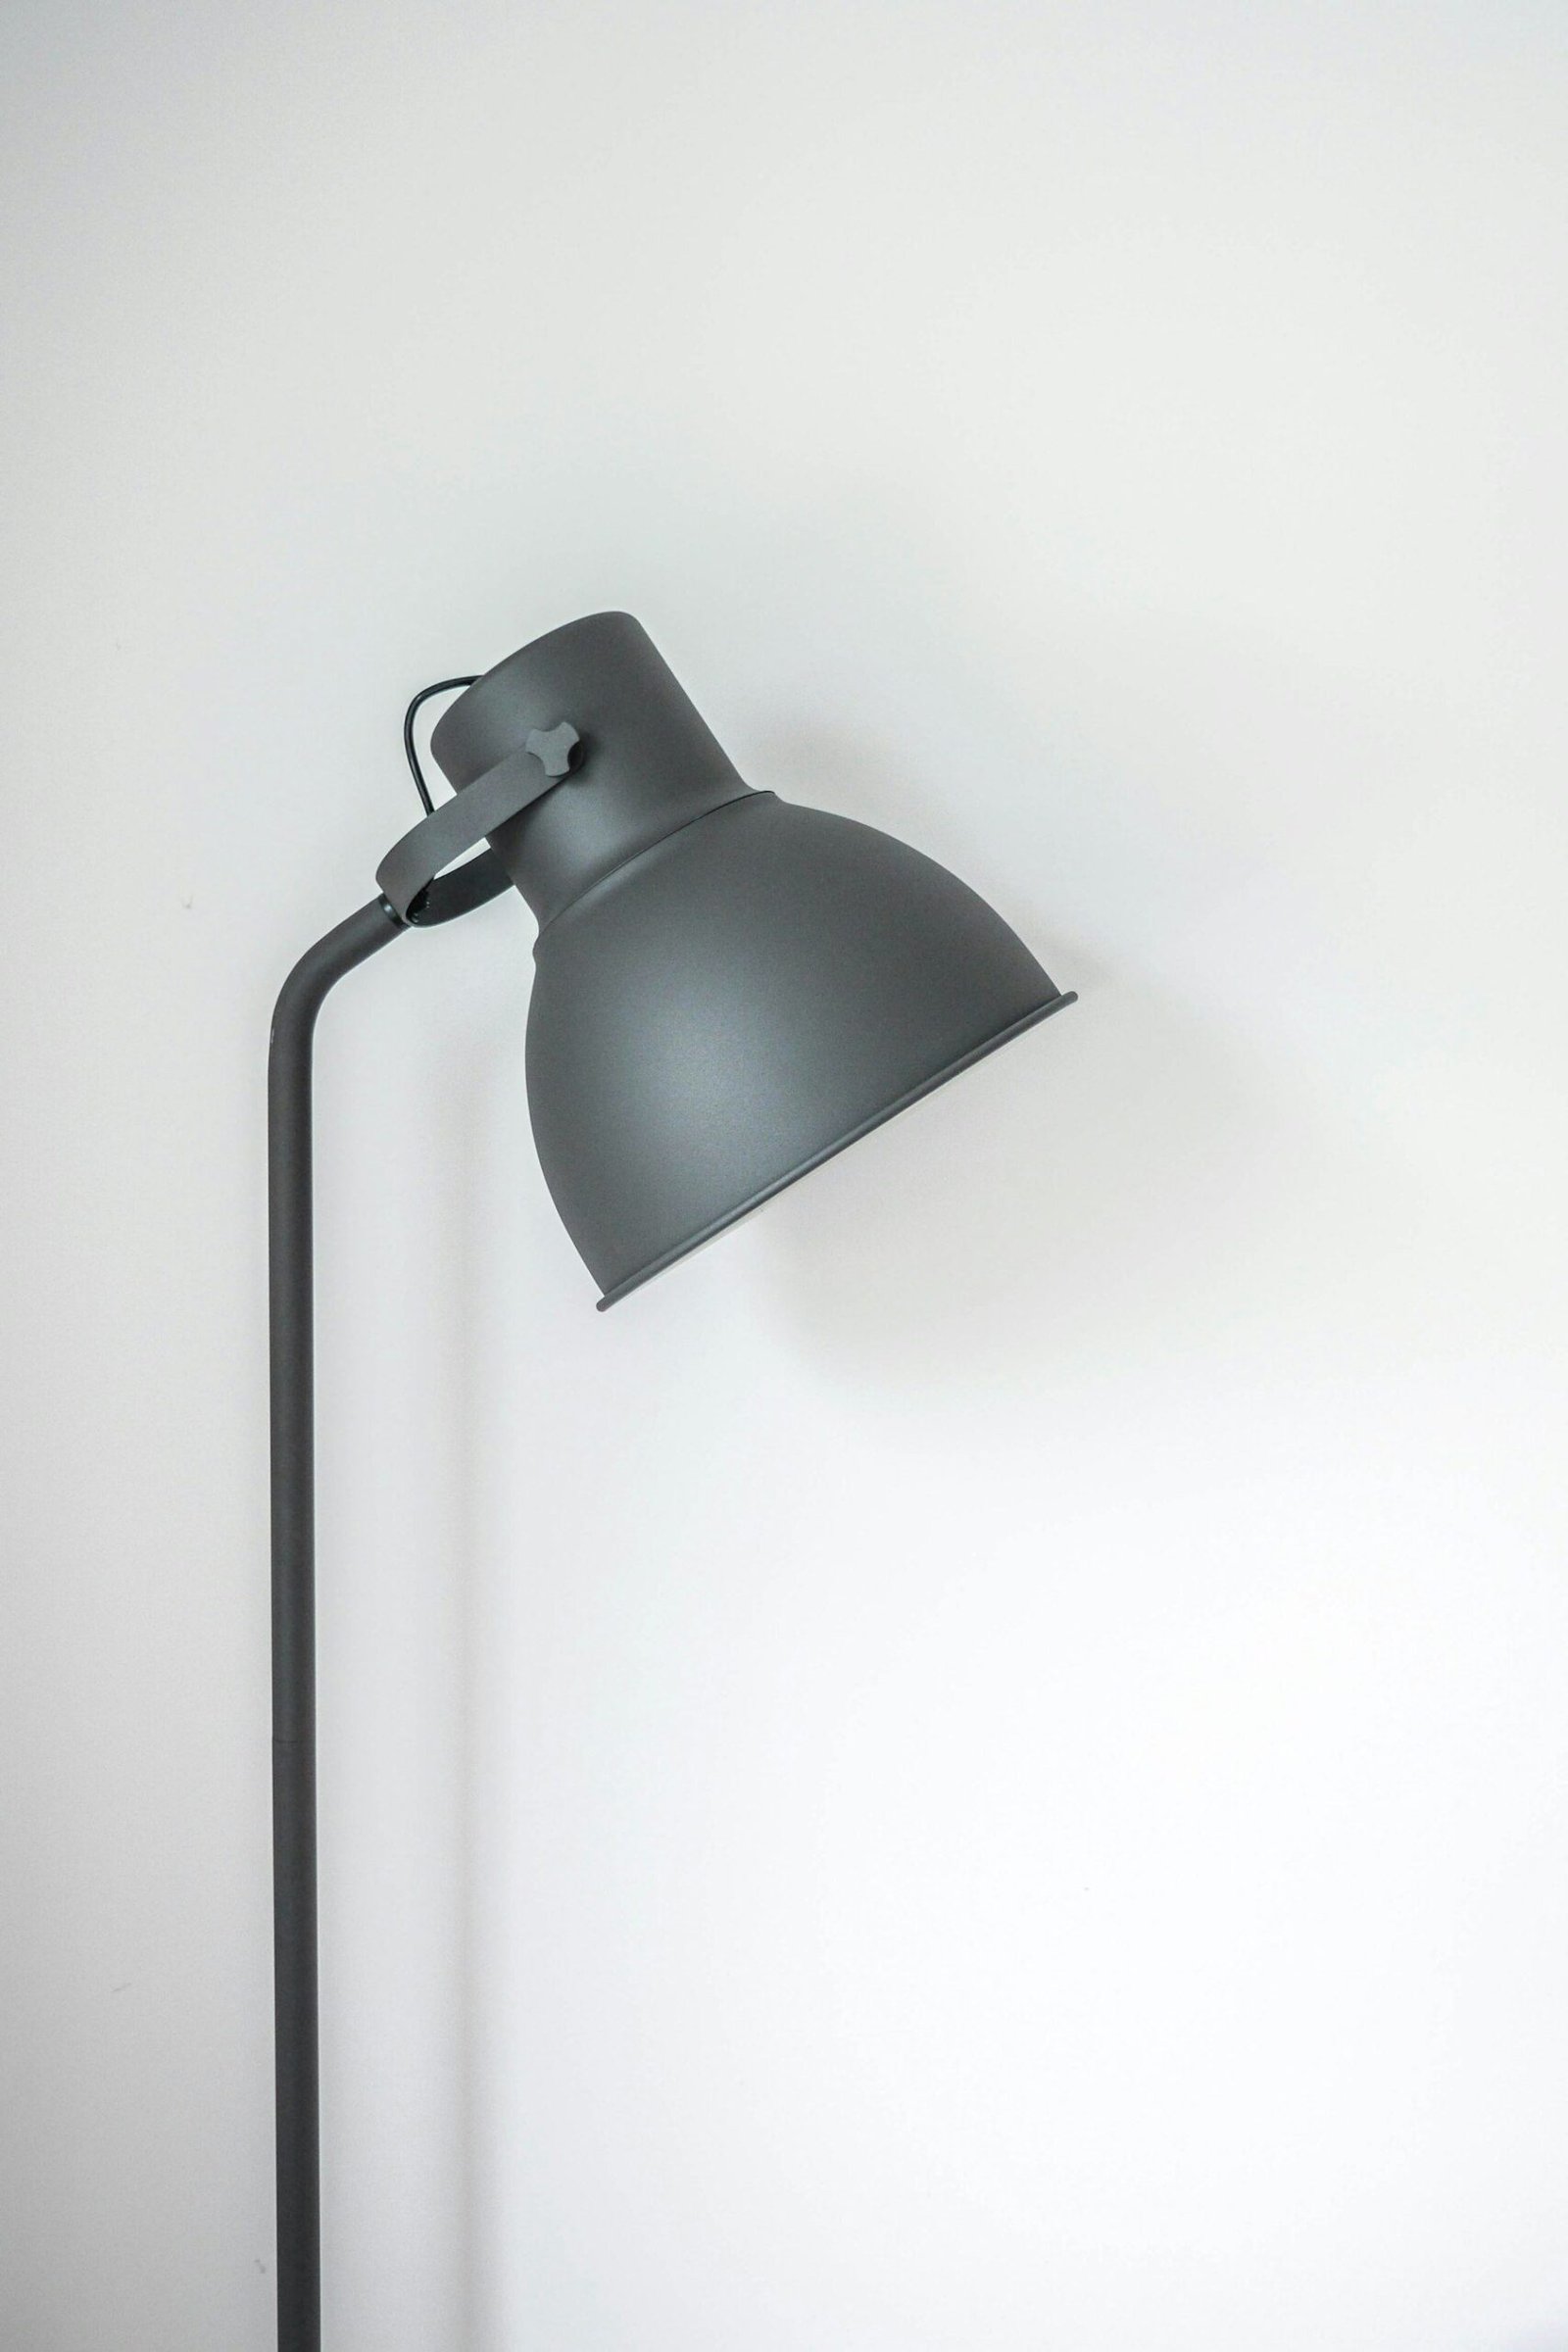
Hotels never use their ceiling light, and neither should you. The overhead light is what makes a room feel clinical — it flattens shadows and kills any sense of warmth. Our first purchase was two warm bedside lamps (2700K bulbs) and a soft floor lamp for the corner, and the room instantly went from hospital to haven.
Here’s the non-negotiable detail: the warmth of the bulb. Look for 2700K or lower on the packaging. A beautiful lamp with a cold white bulb will undo all your hard work. We also added a dimmer or chose lamps with multiple settings, so the room could shift from bright-and-energizing in the morning to soft-and-sleepy at night.
This one change does more than any decor purchase in this entire makeover — which is why it came first.
2. We rebuilt the bed with layers
The bed is 80% of the room. If the bed looks ordinary, the room looks ordinary, no matter what else you do. We layered it in this exact order:
- Sheet set in white — the hotel non-negotiable. White reads as clean and fresh, and it brightens the whole room.
- Duvet with a laundered-linen cover, folded at the foot of the bed rather than tucked tight and flat. That casual fold is the signature hotel look.
- Two standard pillows plus two Euro pillows propped against the headboard. The Euro pillows give the bed its height and that plush, inviting backrest.
- A chunky knit throw draped across the foot for texture and warmth — the detail that makes the bed look styled rather than made.
The trick is contrast: smooth duvet against a textured throw, soft pillows against crisp sheets. Matching everything is exactly what makes a bed look flat and forgettable. Vary the textures, and the eye reads « expensive. »
3. We softened the window
The rental came with sad, institutional blinds that did nothing for the room. We replaced the look — not the blinds themselves — with light linen curtains, hung high and wide. The rod went 10–15cm above the frame and about 15cm past each side, which visually widens the window and lifts the ceiling.
The fabric matters: a light, natural linen filters morning light into a soft golden glow rather than blocking it entirely. When the curtains are open, they frame the window beautifully; when closed, they turn the room into a cocoon. If you can’t drill, a tension rod inside the frame or a command-style curtain rod does the job with zero damage.
4. We added a "landing zone"
A small bench or stool at the foot of the bed isn’t just pretty — it’s functional in a way that makes daily life feel easier. It’s where bags land when you walk in, where the next day’s clothes get folded, where the dog sleeps. It gives the room a second surface to work with and makes a large bedroom feel intentional rather than empty.
We chose a wooden bench that echoed the warm tones in the curtains. A woven stool, a trunk, or even a low storage ottoman all work — anything that gives the room a sense of purpose at the foot of the bed.
5. We gave the walls a gallery
No drilling was allowed, but the walls looked like the rental’s beige nowhere special. Our solution: a hanging-rod system that hooks over the top of the wall with picture hooks attached — completely damage-free, and it takes down in seconds when the lease ends.
We hung two framed prints above the bed, arranged with generous spacing and aligned to the pillow line. The rule we use for artwork above a bed: the bottom of the frames should sit roughly 20–25cm above the headboard, and the combined width should be about two-thirds of the bed’s width. Generous spacing between frames reads intentional; crowding reads accidental. The prints brought the room’s color scheme full circle and gave the eye a resting point.
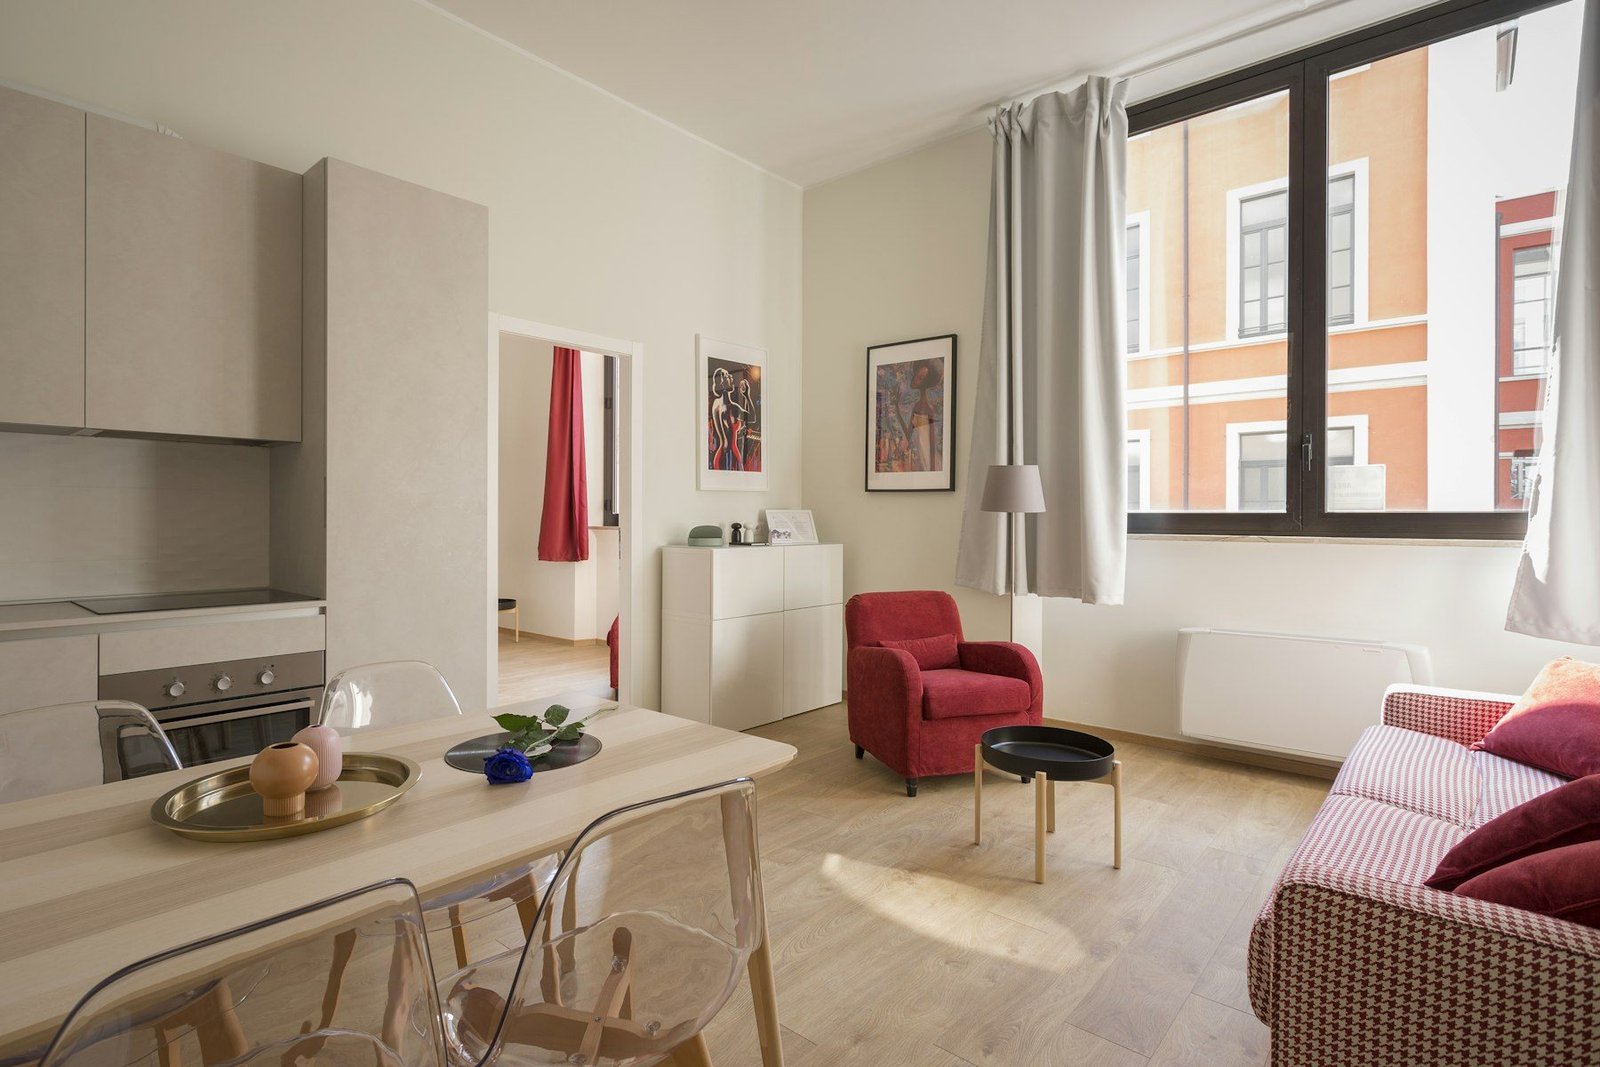
Shop this hotel-style bedroom
6. We kept a calm palette
Hotels don’t use ten colors — they use one palette and vary the texture within it. We worked in warm white, oat, taupe, and a single deep-teal accent. Every purchase had to fit that palette, and that restraint is exactly what makes the room feel expensive.
Here’s the practical benefit of a tight palette: it makes choosing easier. When you know your room is warm white, oat, taupe, and one accent color, a huge portion of the shopping decisions are already made for you. You can’t buy the wrong thing if it doesn’t match your palette in the first place.
7. The budget breakdown
People always ask how much this cost, so here’s the honest tally — all in, under $400:
- Two bedside lamps + bulbs: $90 — the most important spend.
- Duvet cover, sheets, and two pillowcases: $120 — buy these new for hygiene and crispness.
- Two Euro pillows + covers: $55 — the height and the plush look.
- Linen curtains + tension rod: $65 — the window transformation.
- Bench, throw, prints, and small decor: ~$65 — mix new finds with secondhand pieces to save here.
Notice where the money went: lighting and bedding. Those are the two things you interact with constantly, so they’re worth spending on. Everything decorative can be cheap or secondhand.
8. Keeping it that way
A hotel room stays beautiful because it’s edited every day. The realistic version for real life is simpler than you think:
- Make the bed every morning. It takes two minutes and it's the single habit that keeps the whole room looking good.
- Keep one tray or bowl for the phone, keys, and jewelry so surfaces don't collect clutter.
- Wash the linen regularly — crisp bedding is half the hotel feel, and it only stays crisp when it's clean.
- Rotate the throw and accents seasonally so the room never feels stale.
What we'd do differently (and what you should skip)
Honest reflection: there are a couple of things we’d change if we did this makeover again. We bought the decorative pieces first, and they made almost no difference until the lighting and bedding were in place — do it the other way around and you’ll see progress sooner. We also nearly bought a big floor mirror before realizing the room didn’t need one; the wall gallery gave it enough of a focal point. That’s the real lesson: skip whatever doesn’t serve the three hotel tricks — layered light, layered bedding, and an edited palette. If a purchase doesn’t fit those, it’s probably not worth buying.
Frequently asked questions
Lighting, bedding, and textiles do 90% of the work and none of them touch the walls. For wall decor, use a damage-free hanging-rod system, command hooks, or lean frames on the headboard and floor. Curtains can hang from a tension rod.
Warm, layered lighting — bedside lamps with 2700K bulbs instead of the ceiling light. It’s the cheapest change and it transforms the mood of the room more than anything else on this list.
Crisp white always reads as fresh and hotel-grade. If you want warmth, layer white with a linen duvet in oat or taupe and add a textured throw. Avoid busy patterns — hotels use texture, not print, to create interest.
Yes. Prioritize light and bedding, shop secondhand for furniture and decor, and skip the extras you don’t love. Even $150 spent on warm lamps and a fresh duvet cover will change the room dramatically.
The one-minute takeaway
If your bedroom feels forgettable, start with light, then bedding, then windows — in that order. You’ll be shocked how little it takes to go from « spare room » to « I never want to leave. » And everything you buy for this transformation moves with you to your next place, so it’s an investment in every bedroom you’ll ever rent.
Keep Reading
Related articles
Sleep On It
Bedroom ideas weekly
Join 12,000+ readers for decor picks, honest reviews, and styling tips.